Vegetarian Coffee Jelly
Hello everybody, it's John, welcome to our recipe site. Today, we're going to make a distinctive dish, Vegetarian Coffee Jelly. One of my favorites food recipes. This time, I'm gonna make it a bit unique. This is gonna smell and look delicious.
Vegetarian Coffee Jelly is one of the most popular of recent trending meals on earth. It's easy, it is quick, it tastes delicious. It's appreciated by millions every day. They are nice and they look wonderful. Vegetarian Coffee Jelly is something that I have loved my entire life.
Many things affect the quality of taste from Vegetarian Coffee Jelly, starting from the type of ingredients, then the selection of fresh ingredients, the ability to cut dishes to how to make and serve them. Don't worry if you want to prepare Vegetarian Coffee Jelly delicious at home, because if you already know the trick then this dish can be used as an extraordinary special treat.
As for the number of servings that can be served to make Vegetarian Coffee Jelly is 2 servings. So make sure this portion is enough to serve for yourself and your beloved family.
To get started with this particular recipe, we have to prepare a few ingredients. You can cook Vegetarian Coffee Jelly using 4 ingredients and 6 steps. Here is how you cook that.
I believe the best Vegetarian option to set the jelly desserts is Agar Agar, that has superior texture than Kanten. However, Agar Agar and Kanten are not widely available where I live. I use Queen’s ‘Jel-It-In’ Vegetarian Gelling Powder and I am a big fan of the product. This is how I make my favourite Vegetarian Coffee Jelly using the Vegetarian Gelling Powder.
Ingredients and spices that need to be Take to make Vegetarian Coffee Jelly:
- 4 tablespoons Caster Sugar
- 1 sachet (8 g) Queen’s ‘Jel-It-In Vegetarian Gelling Powder’ *OR Agar Agar Powder
- 450 ml Good Strong Coffee *read Method 2
- Cream OR Milk to serve
Instructions to make to make Vegetarian Coffee Jelly
- Place Caster Sugar and Gelling Powder (OR Agar) in a saucepan, and mix to combine. This will prevent the gelling powder (OR Agar) from getting lumpy.
- Make good strong coffee. *Note: I have tried to make jelly with 400ml and also with 500ml, and I liked the texture of the jelly made with 450ml the best. However, it doesn’t really matter. Less coffee makes firmer jelly and more coffee makes softer jelly, only slightly.
- Add Coffee to the saucepan and mix well. Heat over medium heat and bring to the boil, stirring well. Once it started boiling, remove from the heat.
- Cool slightly and pour the jelly mixture into the serving glasses. Skim off any surface bubbles if you wish. *Note: This jelly sets at room temperature. DO NOT leave the mixture in the saucepan for too long.
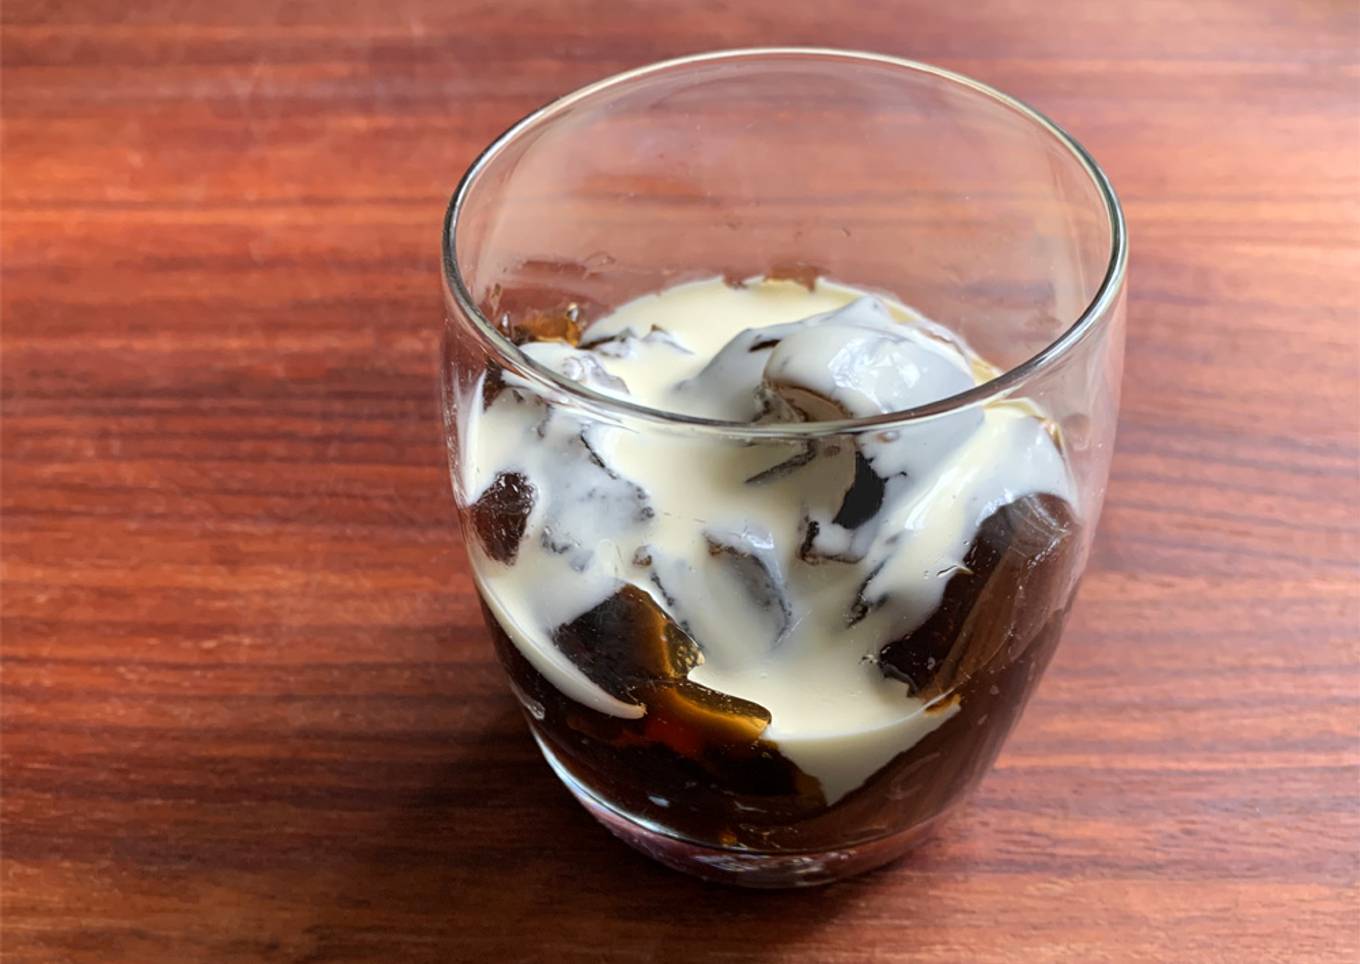
- When cool enough, place the glasses in the fridge and leave to set. Enjoy with Milk OR Cream. *Note: I broke up the jelly for the above photo.
- *Note: Gelatine version Coffee Jelly is much easier to make.
As your experience as well as confidence expands, you will find that you have more natural control over your diet and adjust your diet plan to your personal preferences gradually. Whether you wish to serve a dish that makes use of less or even more active ingredients or is a little bit basically hot, you can make basic modifications to accomplish this objective. Simply put, start making your dishes promptly. When it comes to standard food preparation skills for beginners you do not need to discover them however just if you understand some easy cooking strategies.
This isn't a full guide to quick as well as simple lunch dishes but its great something to chew on. Ideally this will certainly obtain your innovative juices streaming so you can prepare scrumptious dishes for your household without doing a lot of heavy meals on your journey.
So that's going to wrap this up for this special food Easiest Way to Prepare Favorite Vegetarian Coffee Jelly. Thank you very much for your time. I'm sure you can make this at home. There is gonna be interesting food in home recipes coming up. Don't forget to save this page on your browser, and share it to your loved ones, colleague and friends. Thanks again for reading. Go on get cooking!


Comments
Post a Comment